
Co-creator
Monthly Archives: December 2015

Cavemen Chaos Time Conundrum: Design Document
Texture Mapping Testing
Here is a texture map that I made in Cinema 4D, the texture I made is a rubik’s cube design. You make the texture map, first in Cinema 4D by making an object, in this case a cube, you then go to the BP UV edit layout.


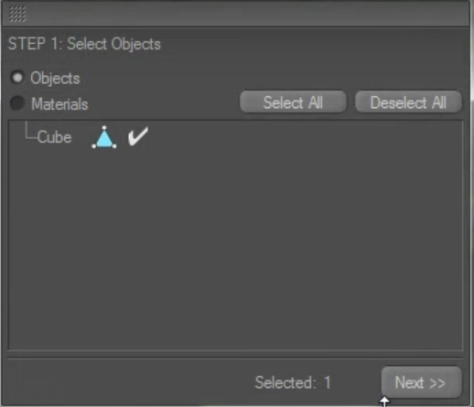
Make sure your object all selected, and click on the icon below to open the Bodypaint 3D setup wizard.

After clicking on the button you will get a box like below, just go through the steps and change any settings accordingly.
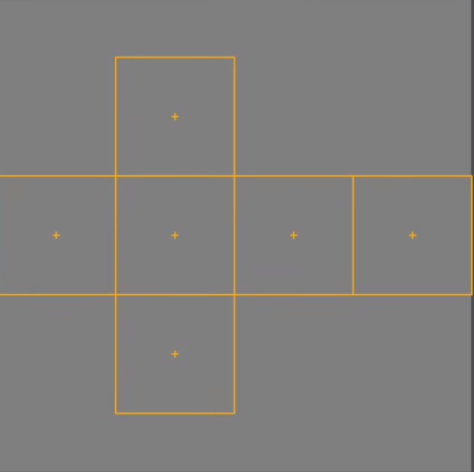
Then find the box below and chose the projection mode suitable for your object, in this case cubic or box will do.

When that is done you will get a net of your object.
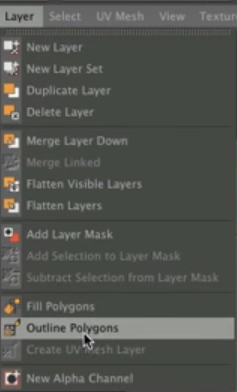
Next give your net an outline by clicking on outline polygons or create UV mesh layer if not greyed out from the layer menu.
You then need to export it to photoshop where you add your colours and textures, then you save it as an image and put it back into Cinema 4D and make it your objects texture, it should have now been applied to your object.
Ninja Character Final Design

Whole

Legs

Body, Arms and gloves

Helmet

Legs

Body, Arms and gloves

Helmet
